Phone: +86 17767072030 (WhatsApp).
Work Hours
Monday to Friday: 7AM - 7PM
Weekend: 10AM - 5PM
Phone: +86 17767072030 (WhatsApp).
Work Hours
Monday to Friday: 7AM - 7PM
Weekend: 10AM - 5PM


Metal badges are widely used for branding, recognition, and decoration. Understanding how these durable and customized items are made can help you appreciate their quality and complexity. Here is a detailed step-by-step guide on the metal badge manufacturing process:
The process begins with creating the badge design. Designers work on detailed artwork based on customer requirements. This includes the badge shape, logo, text, colors, and size specifications. Vector files or CAD drawings are preferred for precision.
Once the design is finalized, a mold (die) is created. The mold is usually made from steel or other hard metals. It defines the badge’s shape, relief, and details. For 3D badges, sculpted molds are used to achieve dimensional effects.
Depending on the material and design complexity, the badge shape is formed by either:
Stamping (Die-Struck): A metal sheet is stamped under high pressure using the mold, creating a detailed impression.
Die-Casting: Molten metal is poured into the mold, ideal for complex 3D designs and thicker badges.
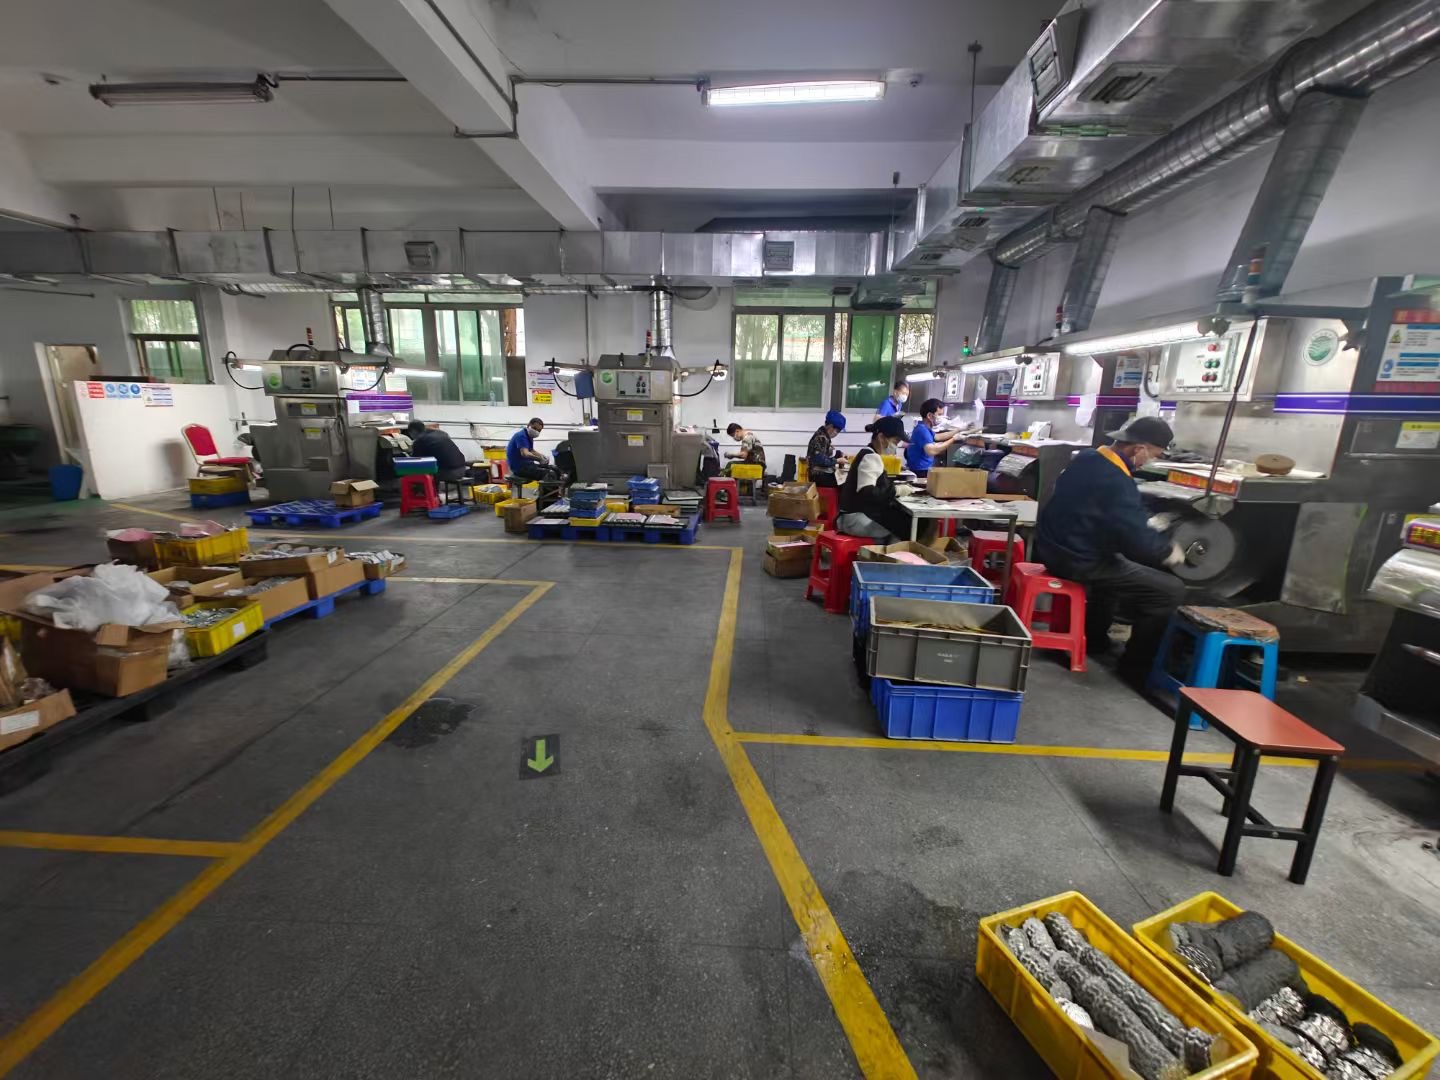
The rough badges are trimmed to remove excess metal and then polished to smooth edges and surfaces. Polishing enhances the metal shine and prepares the badge for plating or coloring.
The badges are plated with metals such as gold, silver, nickel, or copper to improve corrosion resistance and aesthetics. Different plating options provide a variety of finishes like matte, glossy, or antique.
For colorful badges, enamel paint is filled into recessed areas. There are two main types:
Soft Enamel: Raised metal lines remain visible; surface has texture.
Hard Enamel: Polished smooth surface; more durable and premium.
After color filling, badges are baked in ovens to harden the enamel, ensuring durability and a long-lasting finish.
Attachment accessories such as safety pins, butterfly clutches, magnets, or screws are fixed on the back according to customer preference.
Every badge goes through a rigorous inspection to check for defects, plating uniformity, color accuracy, and attachment security.
Finally, badges are carefully packaged, often in protective boxes or bags, and shipped to customers worldwide.
Summary:
Making metal badges is a multi-step process involving precise craftsmanship, advanced machinery, and quality control. From design to delivery, each stage ensures that the final product meets customer expectations for durability, beauty, and functionality.